Let’s talk about stitching.
Stitching?
Yes, stitching.
Why would stitching be important?
It’s a stitch.
It’s not just a stitch.
It’s the foundation of your install. The beads are as well but if your stitching is not clean and precise you a potential mess on your hands.
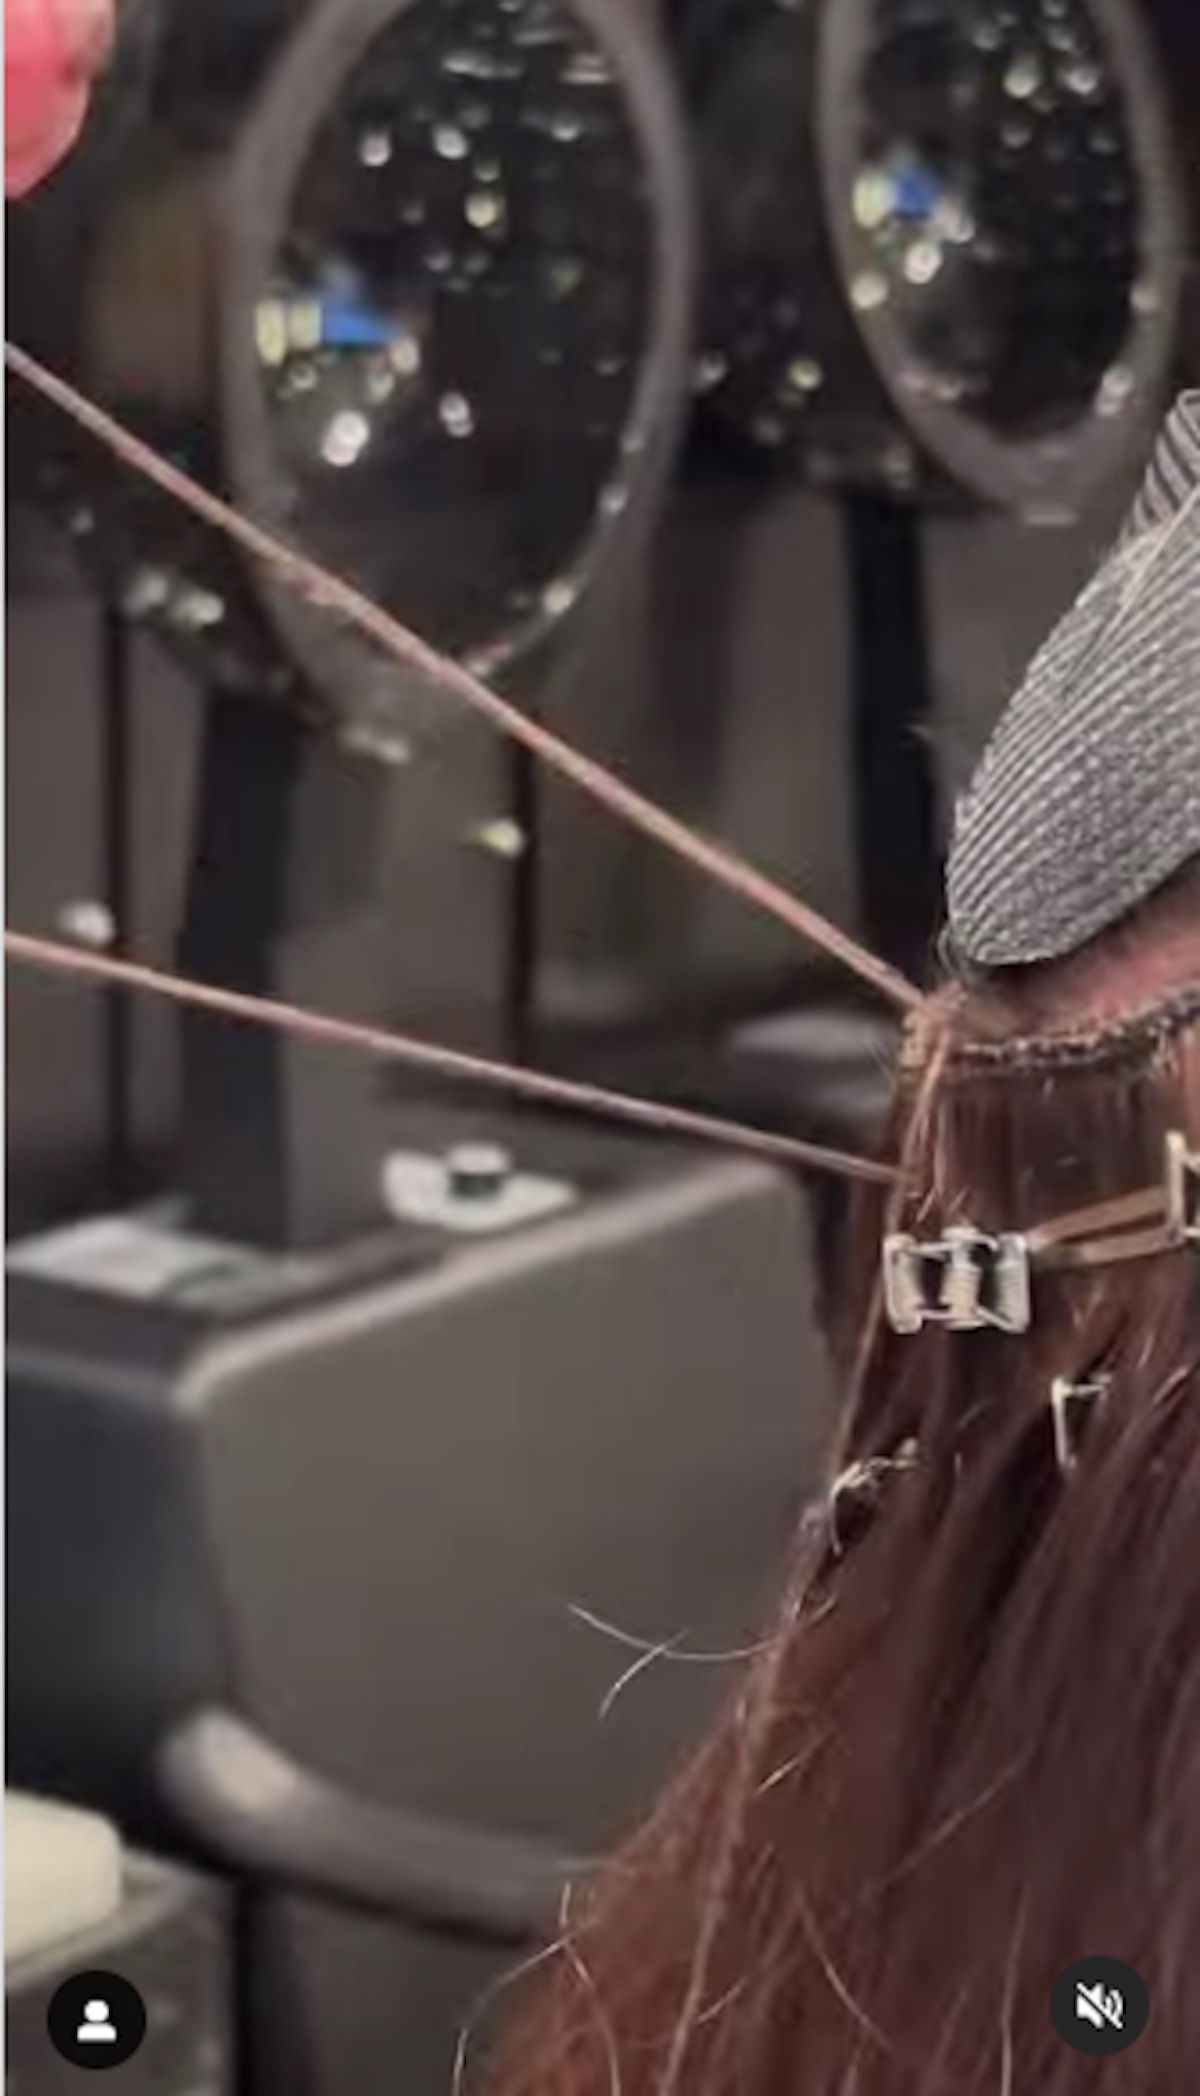
I’m a stickler for precision and keeping things neat and in their place. If you are doing a raise, your wefts need to be free of old thread when stitching. If the hairs on the weft are remotely clumped together or not laying flat you need to mist the wefts with water and make sure all the hair is laying perfectly in lines. You need a clean and clear sight in order to make sure your needle is going in where it should and coming out where it should.
Here is the next key component…DO NOT LET STRANDS OF HAIR CATCH ON YOUR THREAD.
Yes, you read that right. To hold all your wefts securely into place you need to secure the hair under where you are stitching with a clip. This also helps to prevent you from dropping a weft. Dropping a weft or a weft not stitched in properly with the rest of the wefts will move freely around creating friction which in turn creates tangles, matting and crawling. You don’t want hairs to catch because it will create more cross hairs and potentially cause extension hair drag.
You must also stand directly in front of the section you are working on to prevent any drag to one side. The minute you are working past where your point of sight is or your body is offset you will create drag. Your pull-up on your stitch will shift ever so slightly to the side and you will start to pull hairs sideways. If there are tangles from small strands of the hair extensions and you have drag of any kind you run the risk of creating a loop at the top of the weft. It creates the perfect opportunity for the hair to CATCH, TANGLE and CRAWL.
You read that right. The hair is not doing so because it is a “bad batch” it is doing so because not all things were on point 100%.
There is no greater satisfaction than the perfect stitch work. Clean, concise and consistent, those 3 “C”s make it flow like a beautiful dance.
Now let’s talk about how many stitches you need with CURLY…

If you do not have enough stitches to hold the wefts in place they will start to rub against each other and create friction. Friction creates tangles, crawling and matting.
Curly hair is in constant movement. The strands spiral this way and that creating MORE opportunities than straight to tangle. So you have to make sure every step is perfection or you won’t be happy with your end results.
These issues may creep up from the start but more likely will show up 3-4 weeks out. Brushing, washing and pulling will create bigger loops as all those things pull on them a little more every time when done. After a couple weeks you are dealing with a full blown matted base of a row. NIGHTMARE.
If the base of the row is matted it is only a matter of time before it creeps throughout the rest of the row. Certain methods require a stitch almost every 1/8” to 1/4” that is pretty perfect. If you usually do 3 stitches in between beads, I would say do 5-6 stitches. It takes more stitches with curly to keep things perfectly in line.
When we started doing extensions we saw it as a new and exciting service. The service that also came with top dollar payment. In order to charge top dollar you have to be on point every step of the way. This takes time, dedication and lots of practice.
I learned these techniques through trial and error. When the success started I applauded myself because I put in the hard work to make it a success. I did not settle for what was “okay” work, I wanted my work to show how much I put forth everyday. If a problem presented itself I did not walk away until I had a solution. Working until the job is done and done correctly is not only customer service at it best, it’s pushing you to be the best extension artist there is. Never settling and always learning.
This is just a nugget of knowledge that I can share with you about the tricks and troubleshooting techniques to use when working with curly extensions.